Scratch coat renders applied to exterior walls is the perfect way to ensure your external render is able to stick to the wall surface effectively - but for those that aren't in the rendering business, you might not know what exactly a scratch coat is.
If you're looking for detailed information about this method of rendering, then you're in the right place.
The following information is about what scratch coat is in rendering, how it can be used in many different ways, and the benefits of it.
So, if you're thinking about hiring someone like us here at MisterRender to complete a rendering project on your house or building, read on to find out more about this rendering process and then contact us if you have any additional questions.
Almost every rendered wall will have a scratch coat. Whether you're using traditional renders or a modern render, scratch coats are used on external walls as a way to make the additional layers of render stick better to the walls.
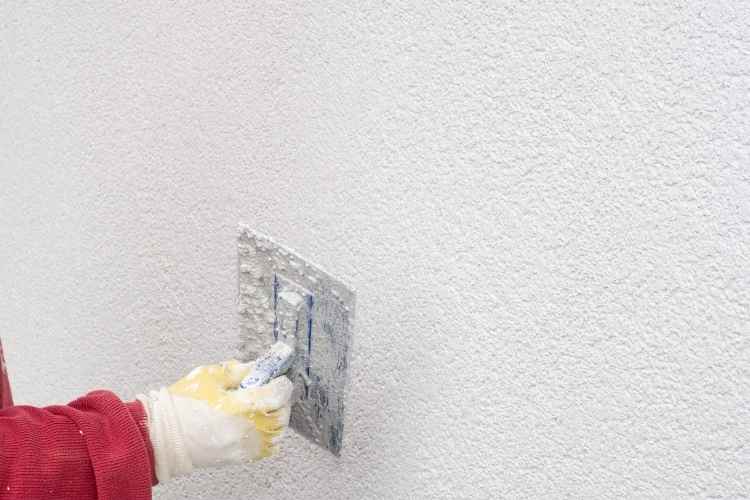
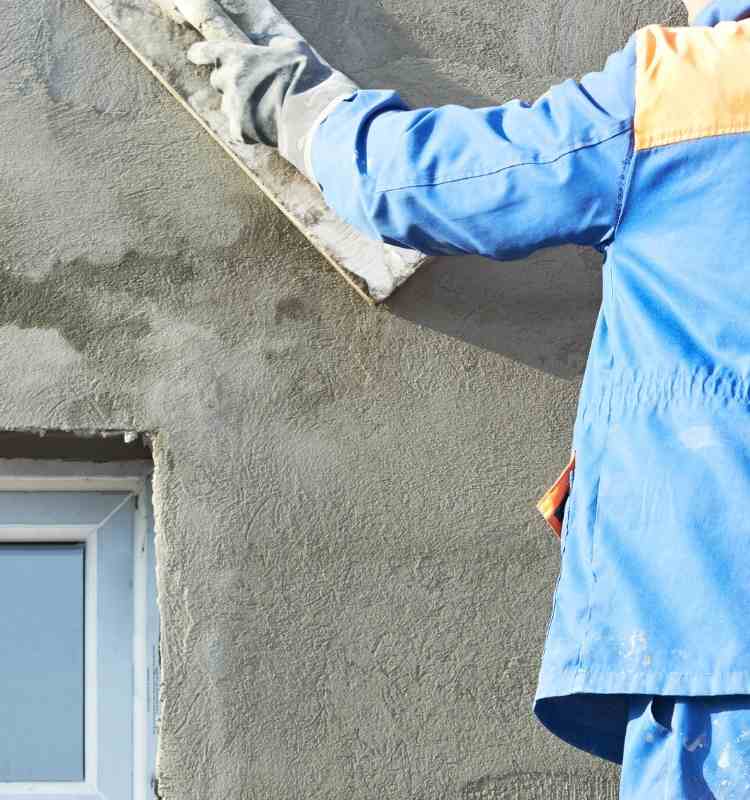
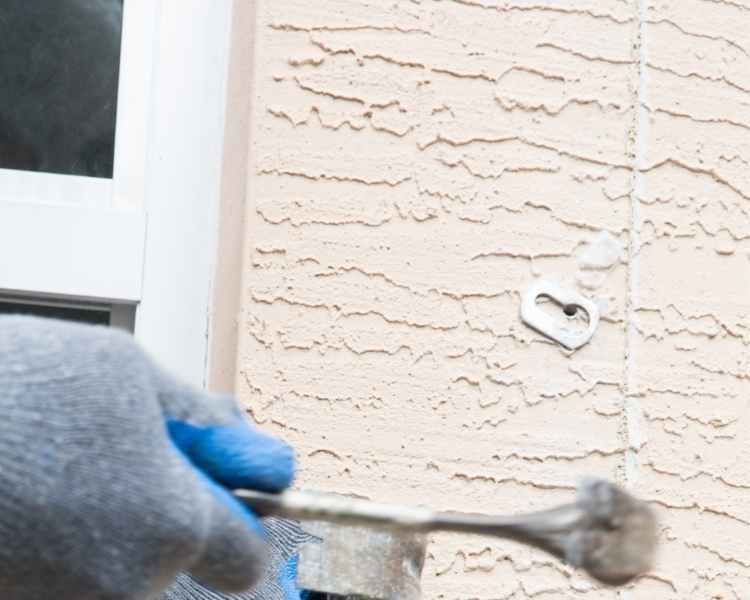
A base coat of cement render is usually mixed in a cement mixer and then applied to the wall using a steel plastering trowel or a similar tool.
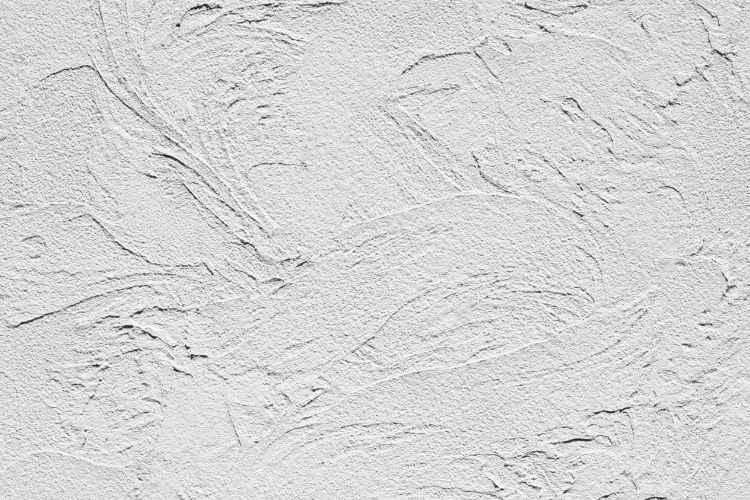
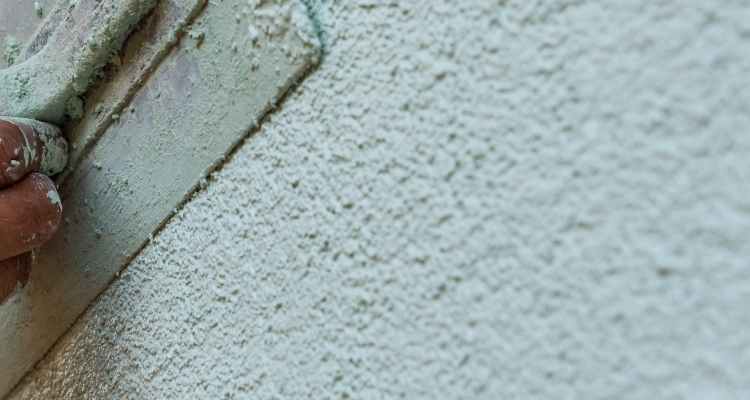
Whilst wet, the coat goes through a scratching process using a scratch tool known as a scarifier. This gives the characteristic scratched look that it gets its name from, and this allows the finishing render mix to stick better to the scratch coat once dried.
Scratch coats are used in two main ways in rendering: as a base coat (most commonly) or as a finishing top coat (less common, but growing in popularity).
When used as a base coat, it's the first coat that's applied to a wall. Its main purpose is to ensure the finishing render is able to stick to the wall better.
This first coat is then scratched in a circular motion to create a rough texture that allows the next coat of render mix to stick to it better and mitigates the chance of weather erosion affecting the render easily.
If a render ever needs two coats or more, then a scratch coat will almost always be used as a base coat because it offers a number of benefits.
Not only does it improve adhesion, but it also fills in any cracks or dips in the wall, which makes the wall flat and the surface level and easier to apply render to.
The scratch coat typically has a waterproof additive mixed in too, and it's most often the coat that's the most waterproof since it's the coat that's applied directly on to the walls. Despite the additive, though, this type of rendering coat allows for the building to breathe still, so that moisture in the walls can evaporate, helping to prevent damp problems.
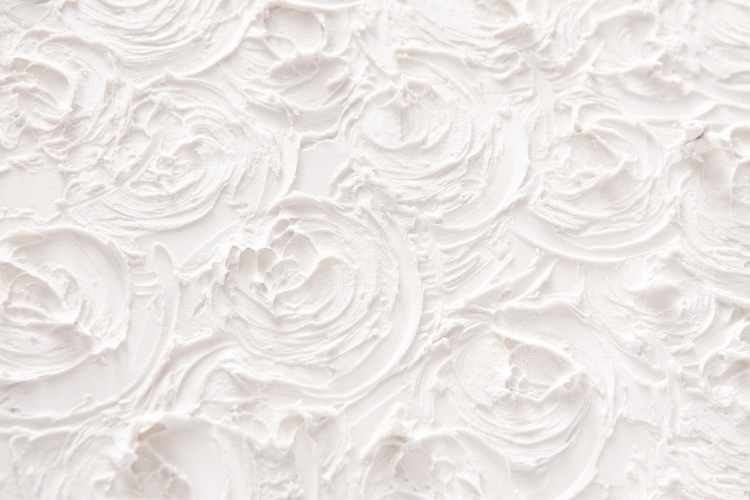
For some, though, the render mix may be scratched as part of the top coat finish. Some people prefer their finishing render flat and smooth, and others prefer one with texture.
If the second coat is scratched too, then this is often for aesthetic reasons only, since the final coat doesn't need to be scratched for any other reasons.
Scratching the final layer allows you to create a weathered look on your wall surfaces and can be a cheaper way of achieving this look than by using something like a tyrolean render mix at the end, which achieves a similar look but with more specialist equipment.
You can use a scratch coat finish with a range of render types too, meaning you don't need to pay for expensive renders to achieve the look you want. A cheaper, cement and sand render can be scratched on the last layer to give your walls a similar textured look to some of the more expensive ones.
Of course, it's about more than just the look when applying render, and which type of render you use will be largely determined by your property as it's a professional's job to ensure the right render is used for your building based on how it deals with moisture, etc.
Here at MisterRender, we can inspect your house and determine which render is best suited to your walls.
Applying a scratch coat is relatively straightforward for professionals like us. Here's what we do.
The correct mix for a scratch coat is usually one part concrete to three parts building sand. Sometimes the best mix will include lime, so the ratio is adjusted somewhat to six parts coarse sand to one part lime and one part concrete. Professionals will be able to determine which mix is suitable for your wall.
The mix is placed in a cement mixer and mixed until all parts are combined and the mix creamy and ready to be applied to the wall. During the mixing process, clean water is added to the rendering mix until it reaches the right thickness and consistency.
Next, a steel plastering trowel or sprayer can then be used to apply the mixture over the entire wall.
Getting the right thickness during this stage is vital. The ideal total thickness for most renders is around 15mm - so the scratch coat needs to be applied in thin layers to allow for the additional layers to be added according to this rough guide.
The overall thickness that's appropriate for the wall will depend on the render used, but professionals will know which thickness they should be aiming for overall.
For the scratch coat, though, the appropriate thickness is always 5mm, as this is the amount of initial render a wall can deal with as the wall accepts it on its surface easily. The second coat can then be thicker according to the package instructions of the render used.
Before it dries, the coat is then scratched using a scarifier and left to dry for 24-48 hours+, depending on weather conditions and humidity.
After it is dry and solid, the render is ready for the next coat, but before we start this, we'll brush the wall and then use a straight edge to rule the wall flat so we can apply the next coat evenly. When the wall starts to pull in, a float will also help smooth the wall, followed by a damp sponge, as the sponge helps level the render even further, especially if you've added lime to the mix.
From here, the next layer of render can be applied according to the instructions. This will typically be packaged dry, and then, by mixing clean water through, it can be made to the right consistency and applied to the surface of the building just like the scratch coat.
If using a scratch coat finish, the final layer will then be scratched using a scarifier as before.
Almost every type of render will use the scratch method as a way of improving adhesion to the wall. Professionals will be able to determine if the render being used on your home needs a scratch coat, but it almost always does.
Again, almost every render can be scratched at the end to give your rendering a unique, textured look. The key here is hiring a professional again who can discuss whether a scratch finish is wise for your type of render.

The only real drawback to scratch coats is that they do lengthen the amount of time it takes for the work to be completed and the finished render to be applied, and it does require additional materials.
But drying time may be shorter or longer depending on the drying method used on this layer of rendering.
Moist curing is a lengthy drying process, but it allows the render to perform better. This involves spraying or misting the render to prevent it from drying too quickly and risking becoming brittle and cracking easily.
It's difficult to say how long this will take to dry, because weather conditions and humidity will affect it, but typically this will take between 48 and 72 hours on average.
It's also possible to speed up the drying time of this layer of rendering by not using any additional water or moisture to keep the render wet for longer. This type of method is essential if the render needs to be applied quickly or if the rendering is at risk of being soaked by adverse weather to come before another coat can be applied.
Applying a scratch coat in this example simply relies on heat from the sun to dry it.
Again, weather and humidity will affect drying time, but typically it will be dry and ready for the following render coats within 24 to 48 hours.
No, plastering sand is for internal jobs, and although rendering and plastering are similar in the jobs they do, rendering sands tend to be more sharp sand and coarser and will need to be purchased from a builders merchants. Plastering sand is much finer, and would affect the strength of the mix used, making it inappropriate for external rendering.
Using the right sand is essential or else the render won't stick to the surface of the walls in the way it should. That's why it's best left to professionals who have access to the right sand for mixing into the render being used for external surfaces.
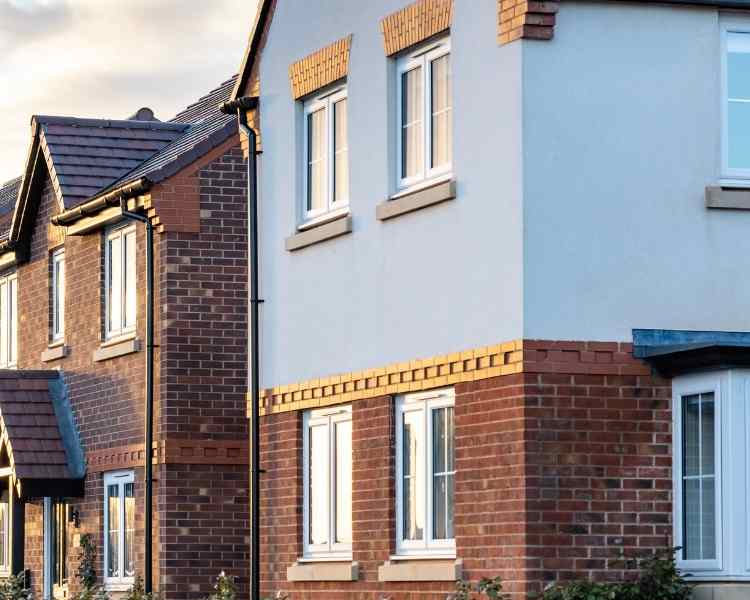
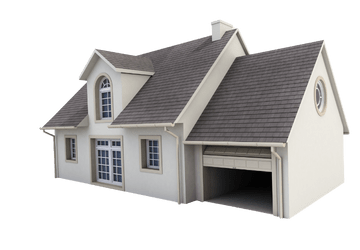
Any render will instantly make a difference to your house. Whether it's covering brick, stone, or any other masonry, a new render provides an instant improvement to the look of your home and its kerb appeal.
If used as a top coat finish, then it also adds interesting texture to the property and makes it stand out even further on the street.
The main reason for using a scratched coat is to improve adhesion for other types of render. Rendered surfaces that make use of this method are far less likely to have parts of the render fall off the wall before it's properly dry.
The better adhesion makes the job easier for professionals, but it also helps the render perform better as a result. And better performing render just means more protection for your home.
Waterproof additions are common, but so too is lime and other additives and materials that combine with the cement, water, and sand to produce a mix that's better able to perform the tasks a scratch coat is designed to do.
Without a scratch coat, it's much more difficult for a rendered surface to get an even finish. Whether you're looking for a smooth finish or a textured one, you will need an even layer to achieve a professional final look.
Although scratch coat renders aren't really a type of render, more a method of applying render, it's important for you to understand its purposes and to understand its method of application so you know what professionals like us will do when applying any render to your building.
Remember, almost all renders have a scratched base, but you can also opt for a scratched finish if you want a textured look.

Deciding on the perfect render for your home will mean taking into account a range of factors:
If you need help with these decisions and require professionals who are highly trained and experienced to conduct the work, then contact us right here at MisterRender today. We'll be happy to discuss your rendering options and help you find and apply the perfect render for you and your home!
There are always two coats of render. The scratch coat serves as the render's basis and the foundation for the entire product. This provides the most strength to the wall while simultaneously providing the most waterproofing. This is what makes your building water tight and prevents moisture from entering your home.
If the brick you intend to scratch coat has a smooth finish or a particularly crumbly texture, it must first be restored. Sand or water blast the paint, dirt, or oil to create a rough surface before applying the paint, dirt, or oil.
The mix for the scratch coat, as we call it in the trade, should be 4:1; the best method to do this is to gauge the sand in a 12 litre bucket purchased from any merchant ( builders bucket).
YES. SBR combined with OPC cement is one of numerous formulations available on the market. This produces a slurry, which is then applied with a brush. I then wait 24 hours for it to cure before applying a second layer, but this time I follow it up with a sand cement scratch coat while the slurry is still wet.